Don’t be fooled by the title of this post; the “finishing touches” took weeks, and I still only got to a fraction of what I wanted to!
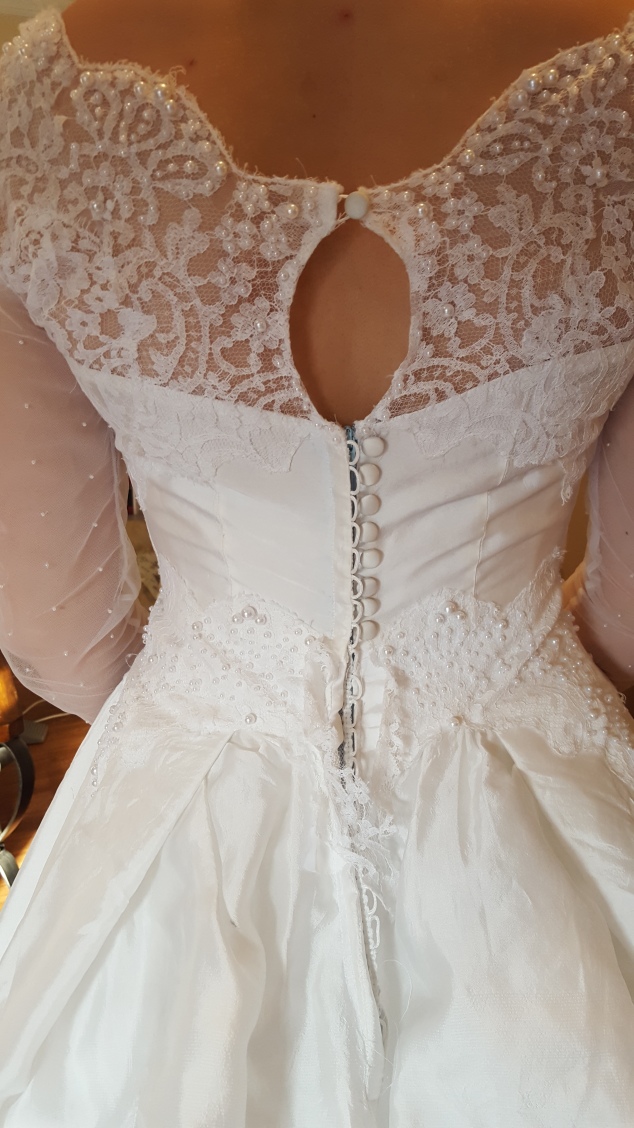
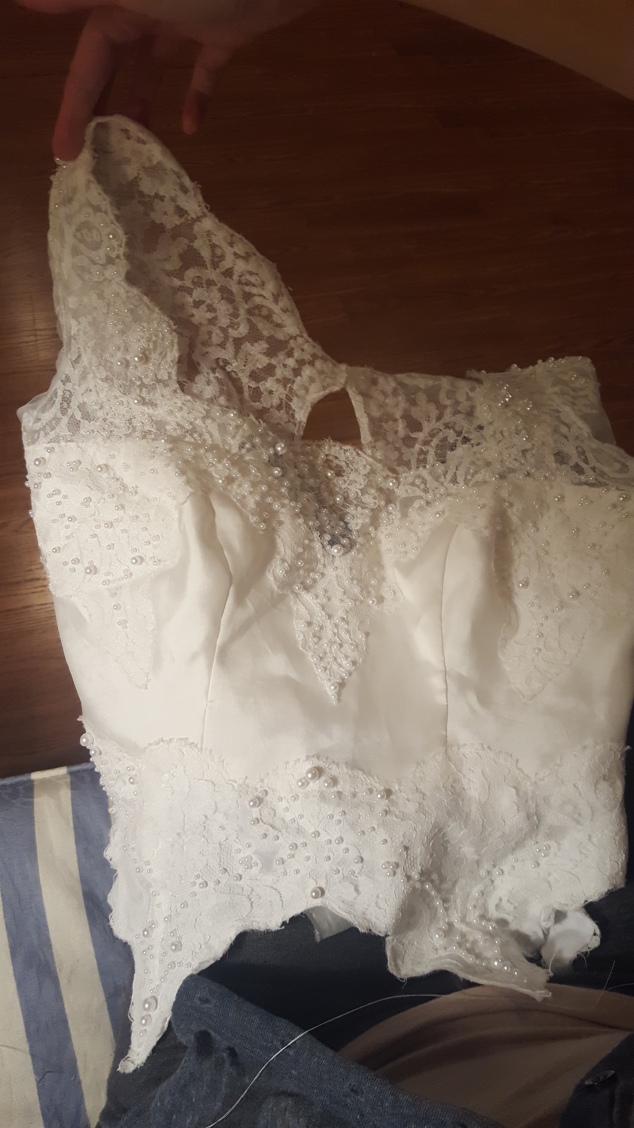
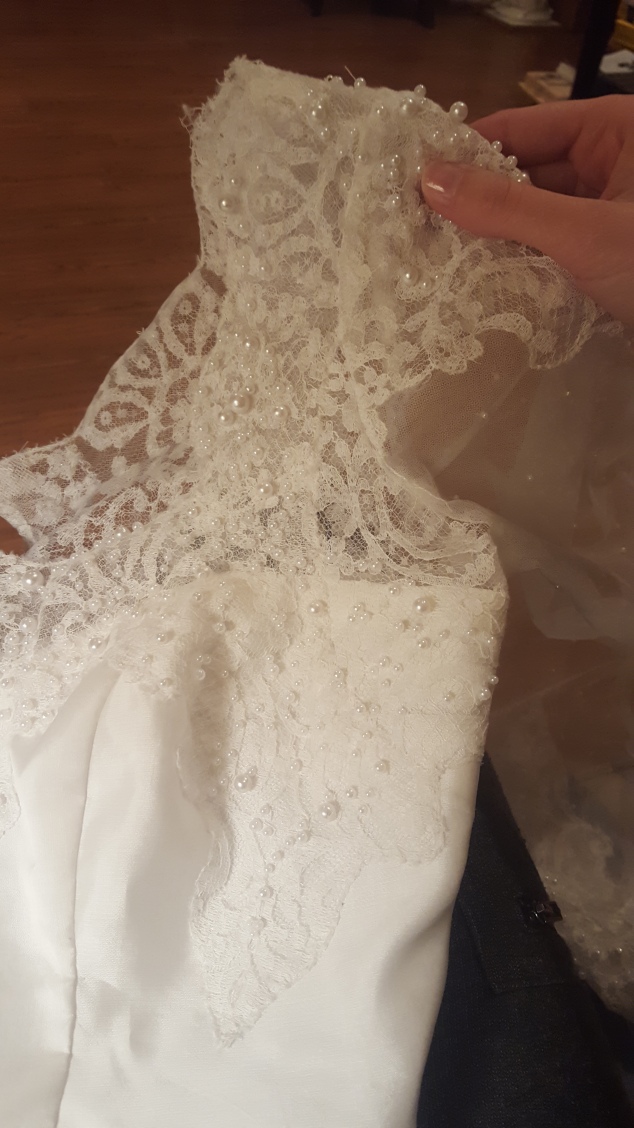
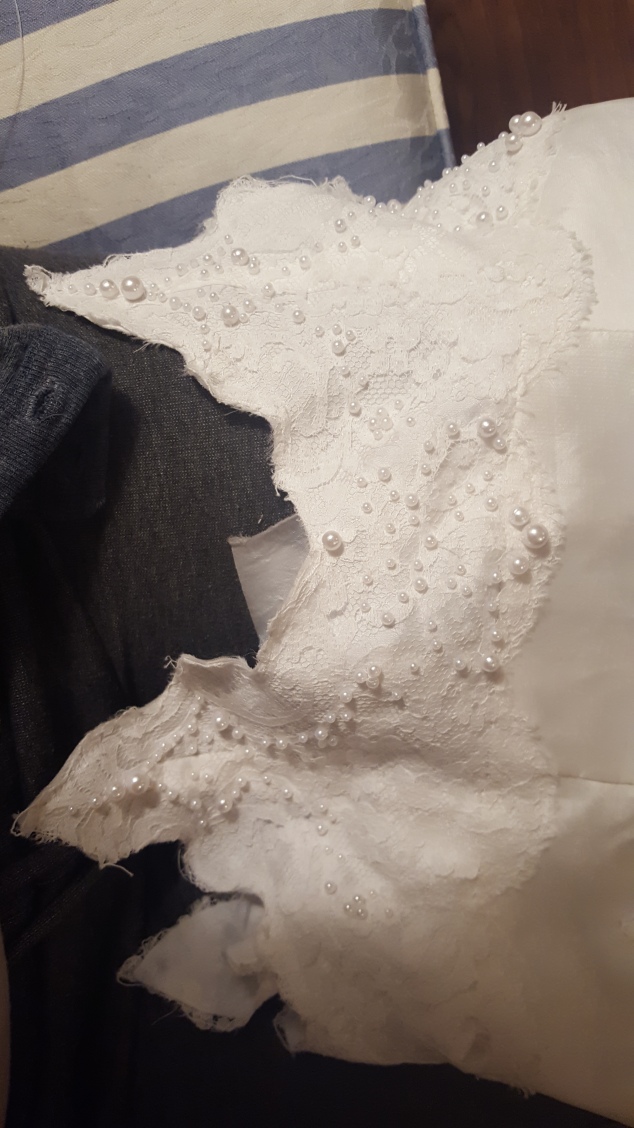
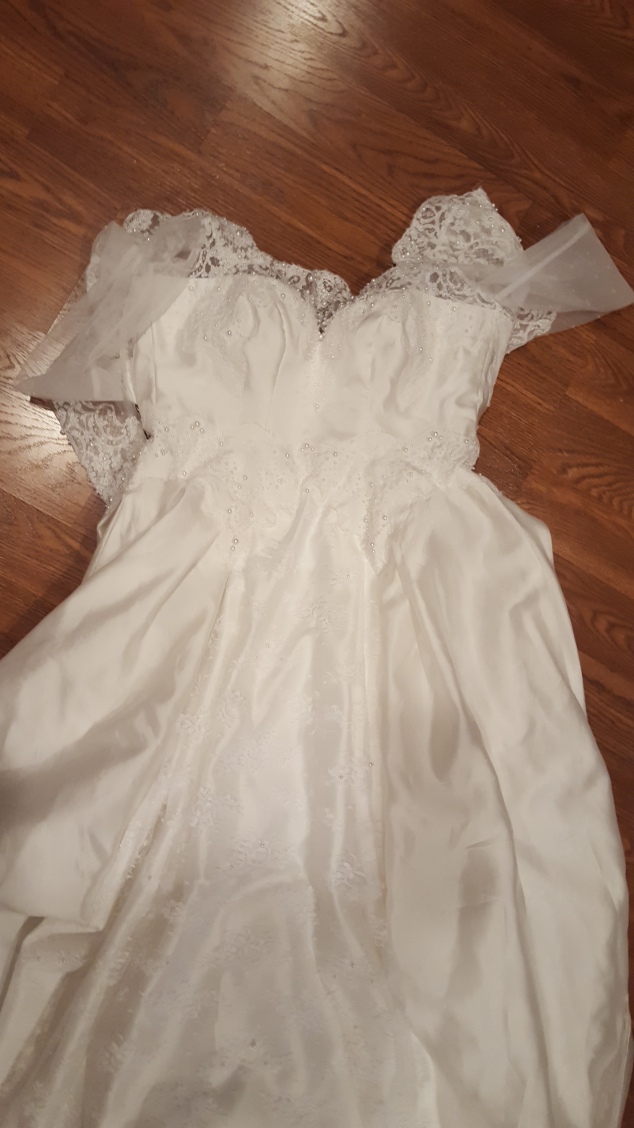
Initially I was going to bead all of the lace on the skirt, not just the bodice, but I threw that idea out the window after I realized how much time it took. I put hundreds of beads on the bodice alone!
Thank goodness for Amazon and JoAnn fabric which both have cheap beads.
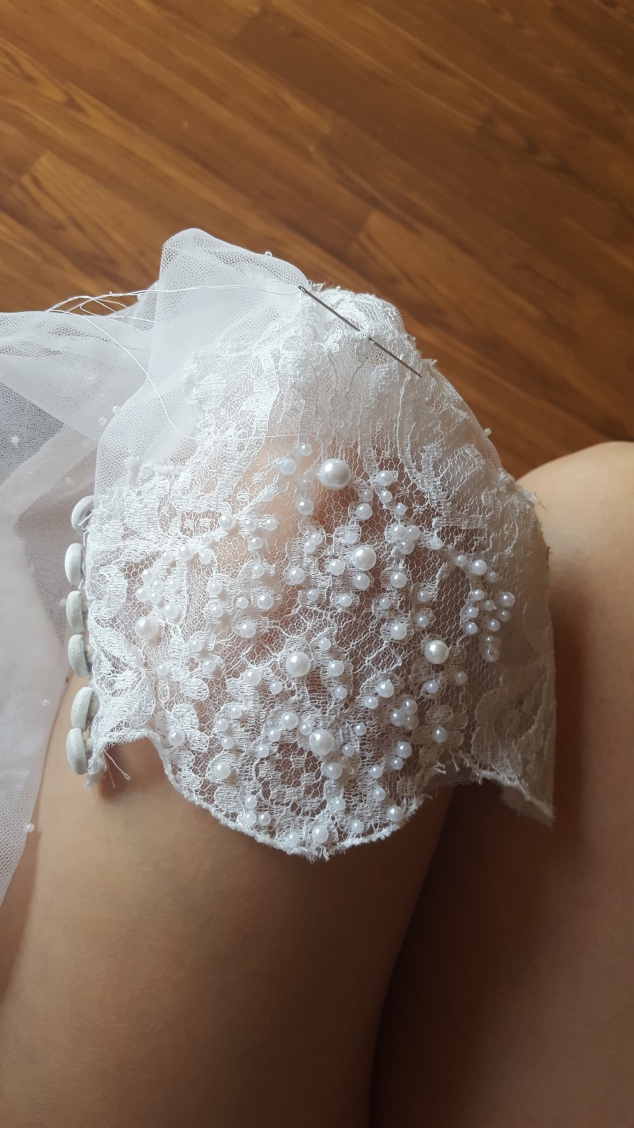
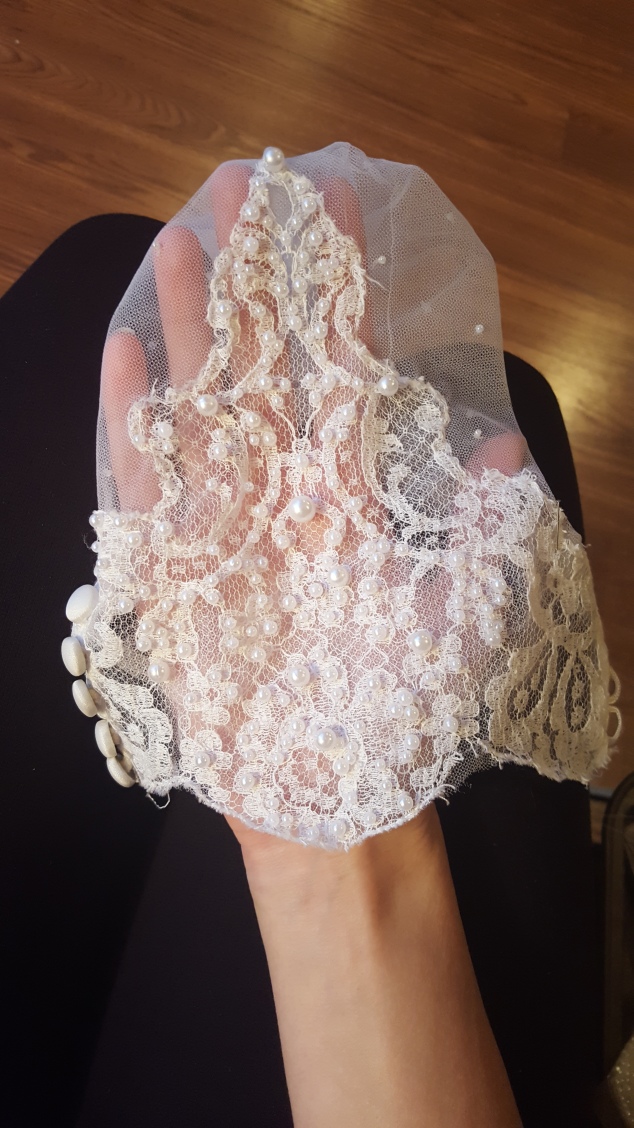
I ended up using four different sizes of Darice beads on the dress (5mm, 6mm, 8mm, and 10mm). I found the smaller they were, the worse the quality was, but at that point I didn’t really mind.
I could have spent hundreds on beads and gotten good quality ones, but I figured I would be one of the only people to actually look close enough to notice.
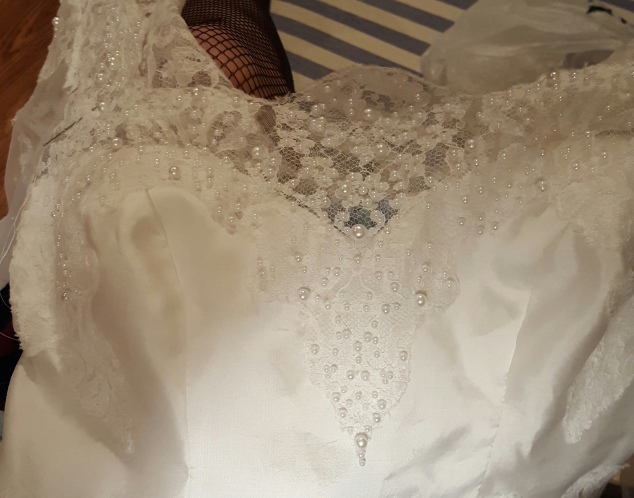
I honestly didn’t realize how much the beads would change the dress. After I beaded the neckline, though, it honestly blew me away.
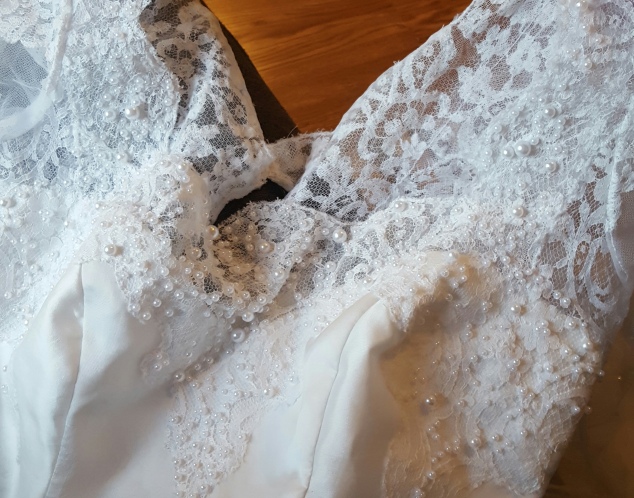

I still hadn’t connected the bodice to the skirt — which was good, given how impossible it would have been to haul the bodice around and bead it with the skirt attached.
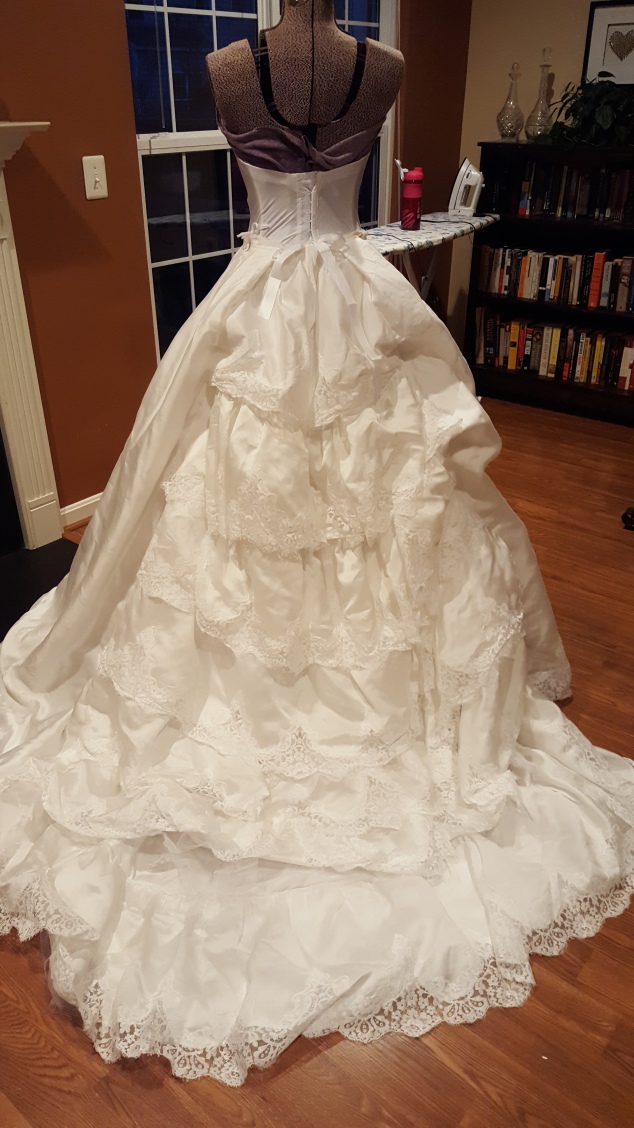
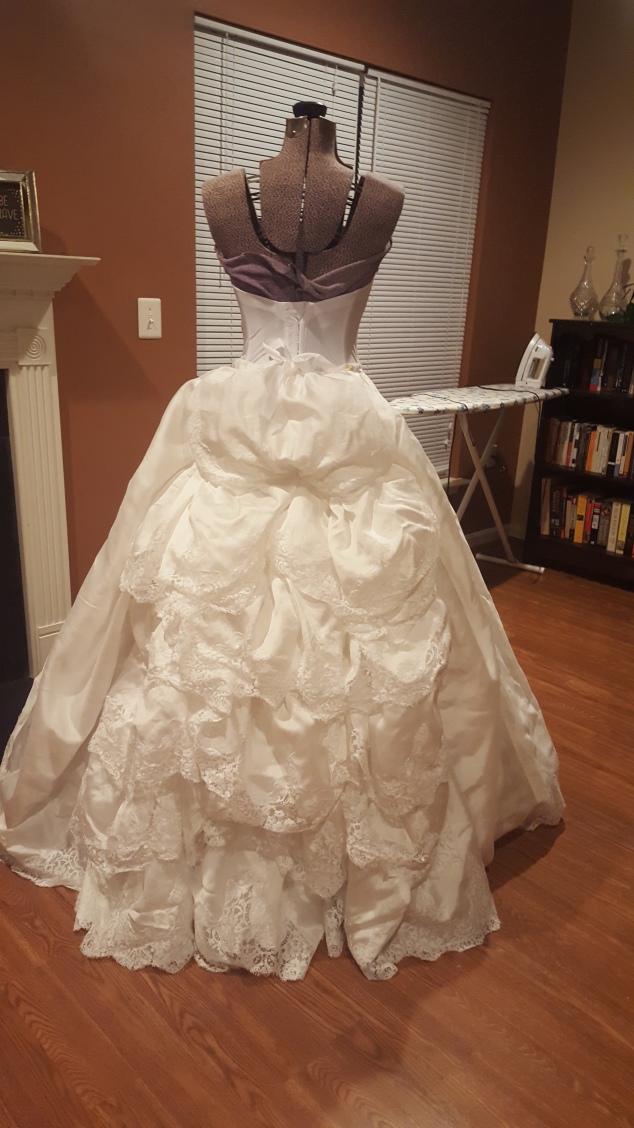
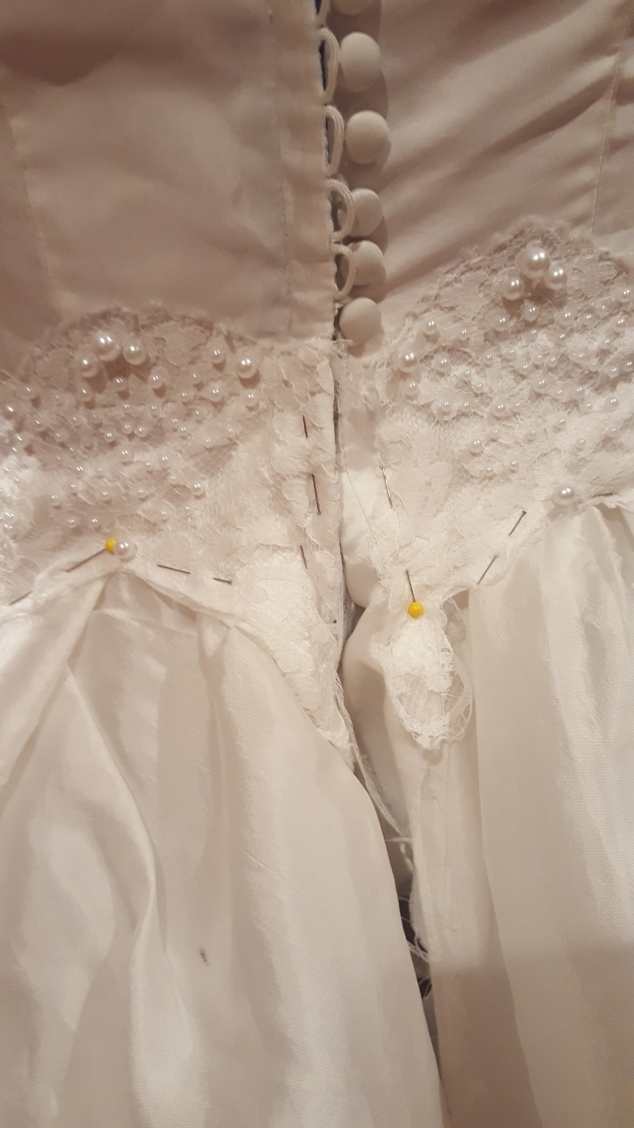
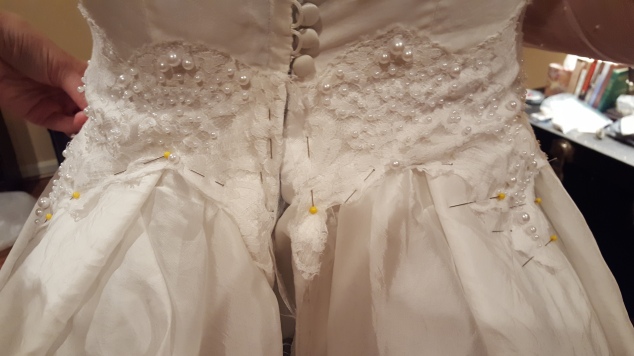
Here’s the waist detail.
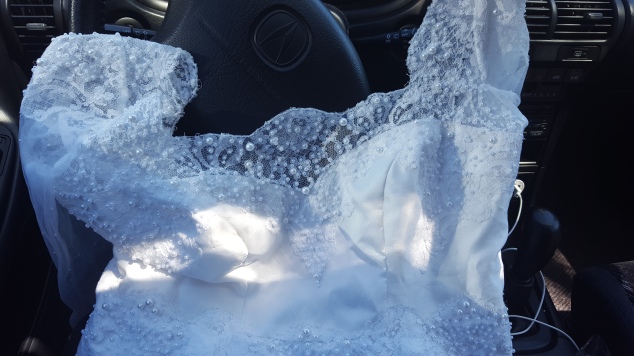
It’s true I beaded the dress in my car! Here’s proof. Thankfully the spring was nice enough that my fingers didn’t freeze while I sewed.
I’m also still finding beads in my car.
Bustling:
I removed all of the original bustling when I reinforced the skirt, so I had to come back through and re-do it all.
I did my best to keep the bustle ties where they were before, but since a lot of the bustles were ripped out, and I didn’t see the dress bustled, I had to do a lot of guess work.
One thing I didn’t plan for was that the weight of the bustled skirt would push the hoop skirt forward, making the dress stick out more in the front than in the back.
I never came up with a solution — but I also never used the bustle, so it wasn’t something I had to deal with.
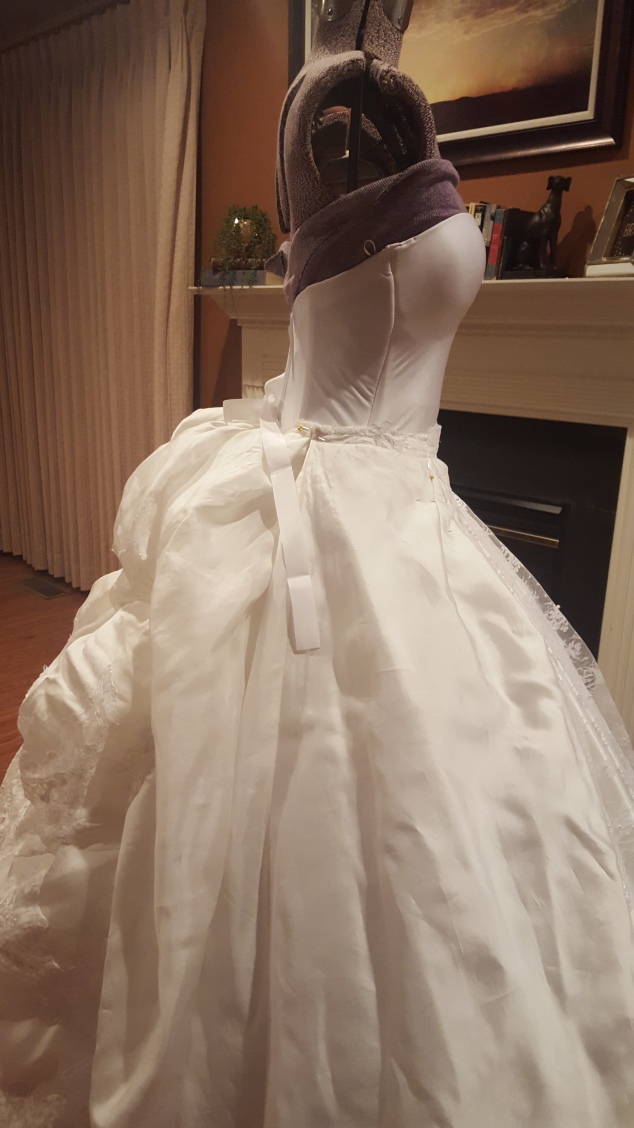
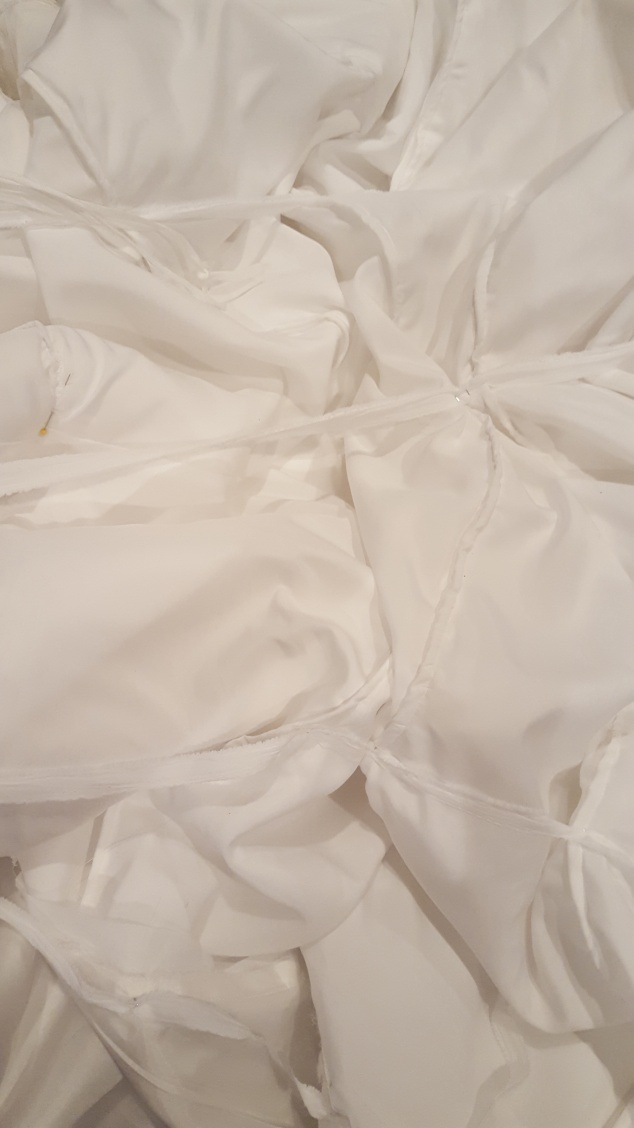
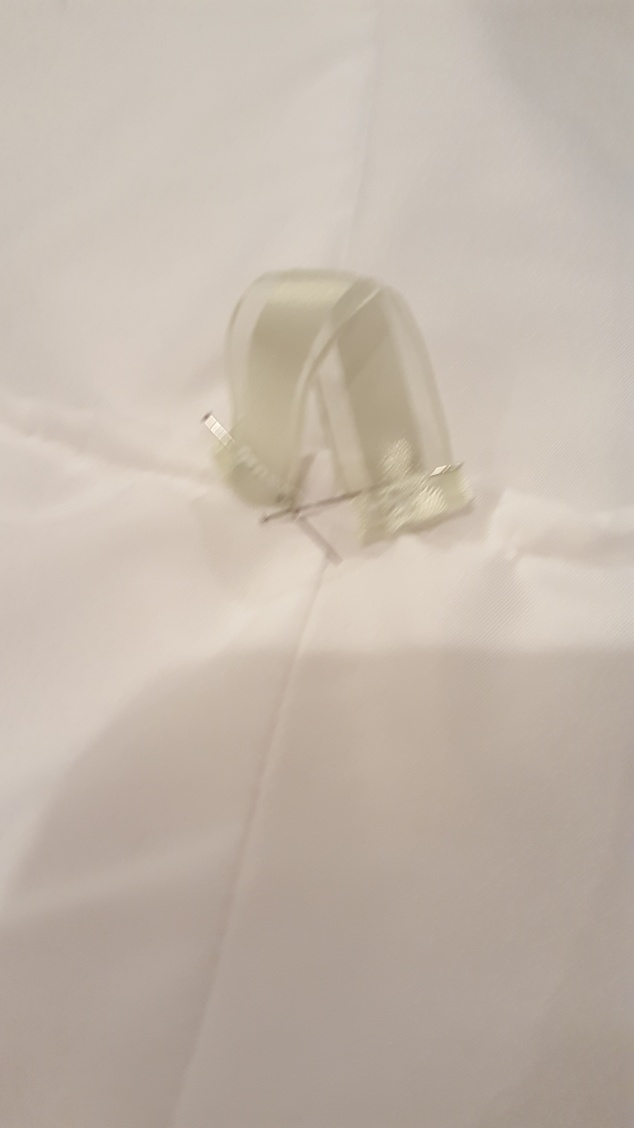
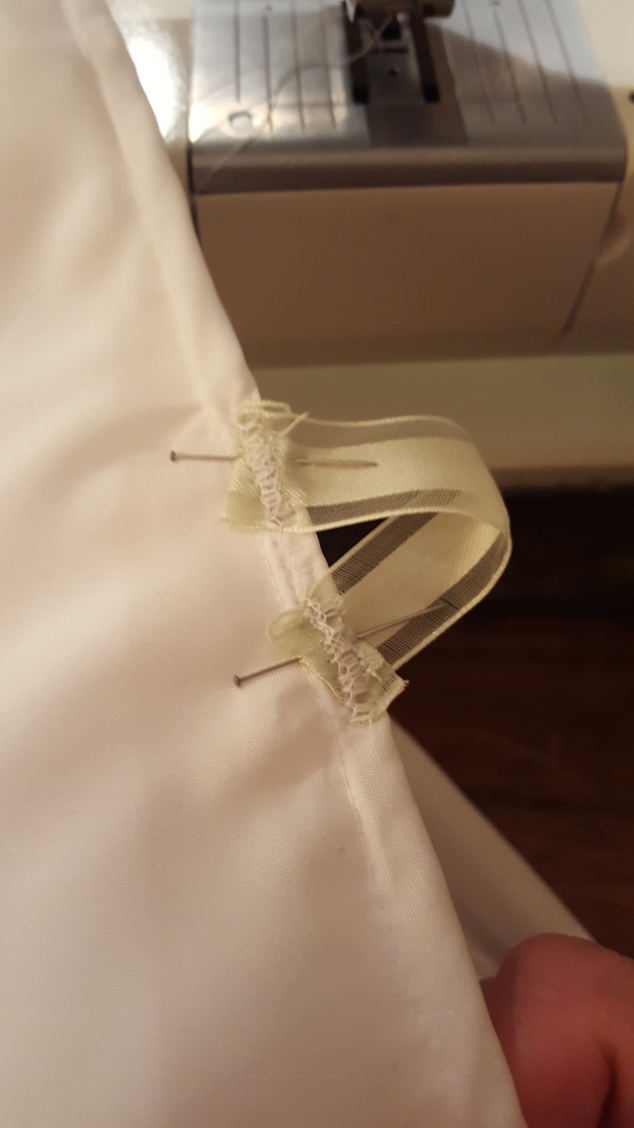
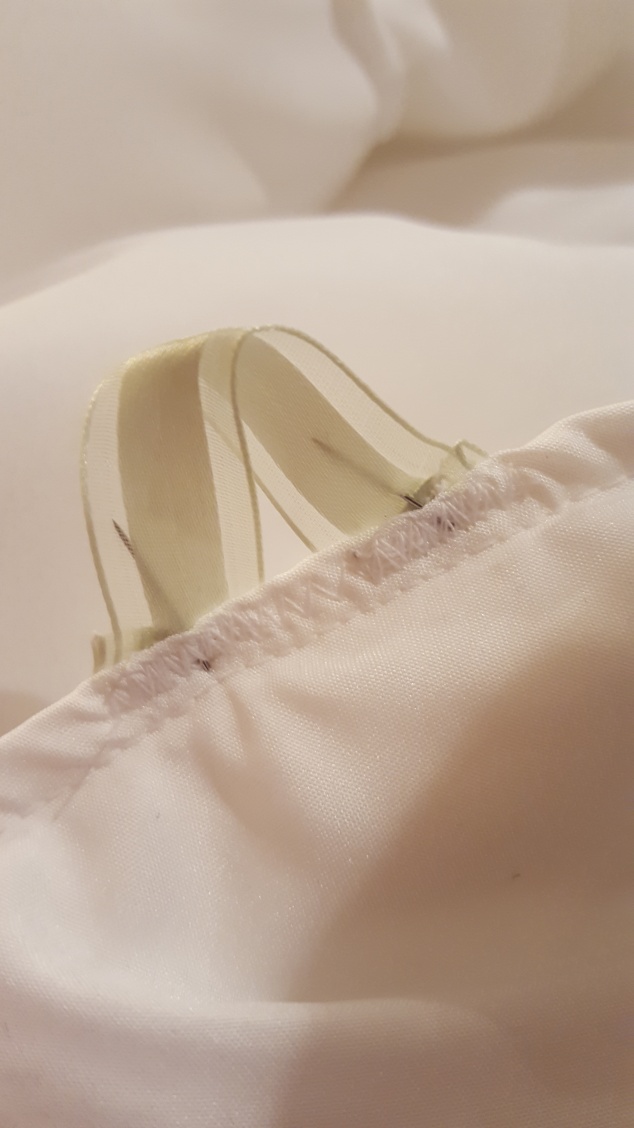
This is what the bustle looked like from the inside. I initially marked the length of the ties and the location of the loops by hanging strips of salvage from the waist and pinning the skirt to it.
I later attached ties to these long strips so the bustle weight would be hanging from the waist instead of the skirt itself.
19 little loops sewn from green ribbon!
Pinning the loops in place.
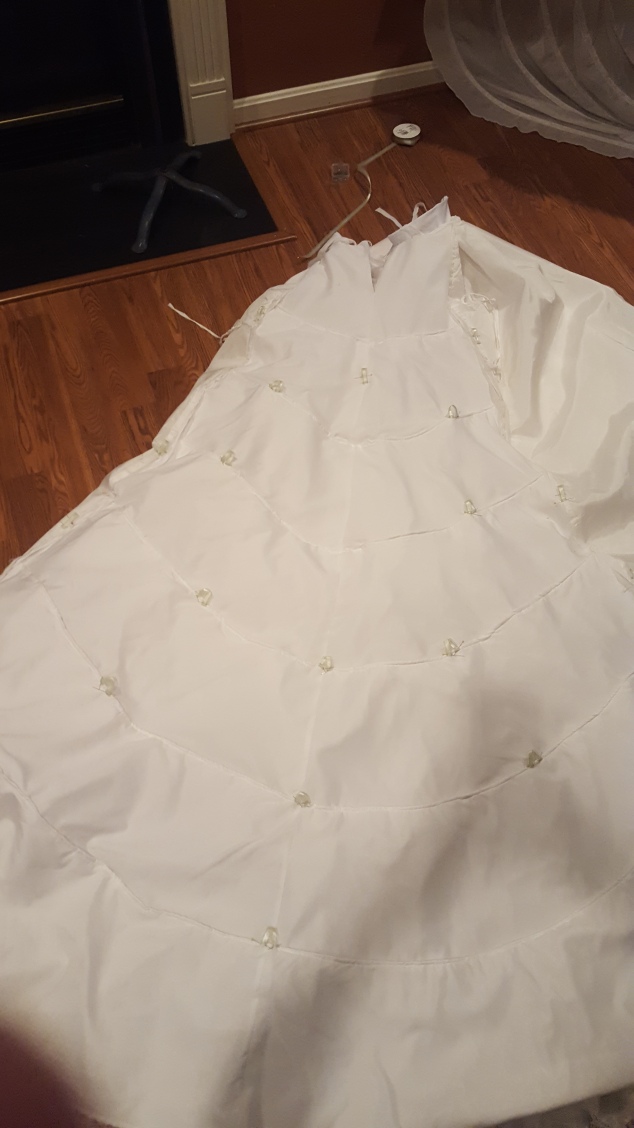
I sewed the loops on with a zig zag stitch so it would pull on the fabric more evenly.
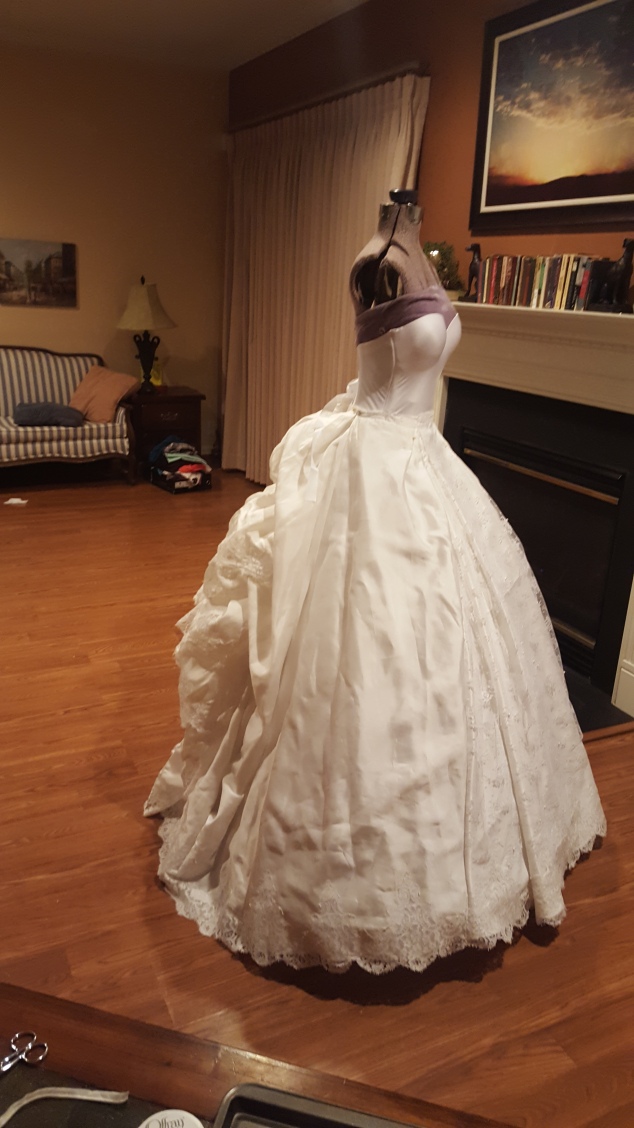
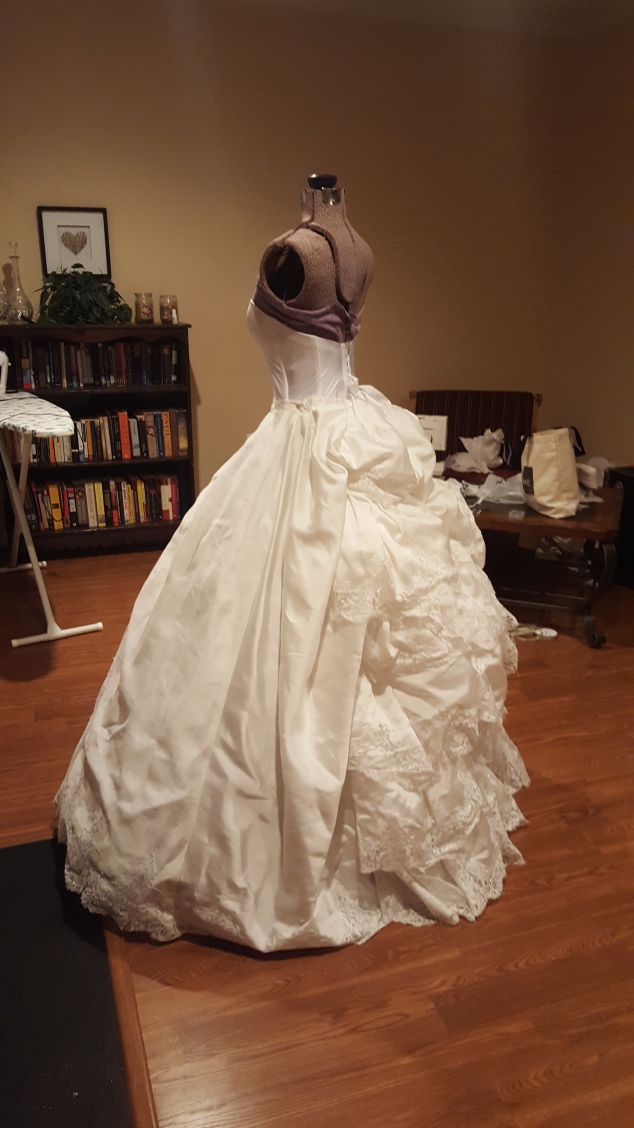
Once the bustles were in place and the beading was done, I set about finishing the zipper and tacking the bodice to the skirt.
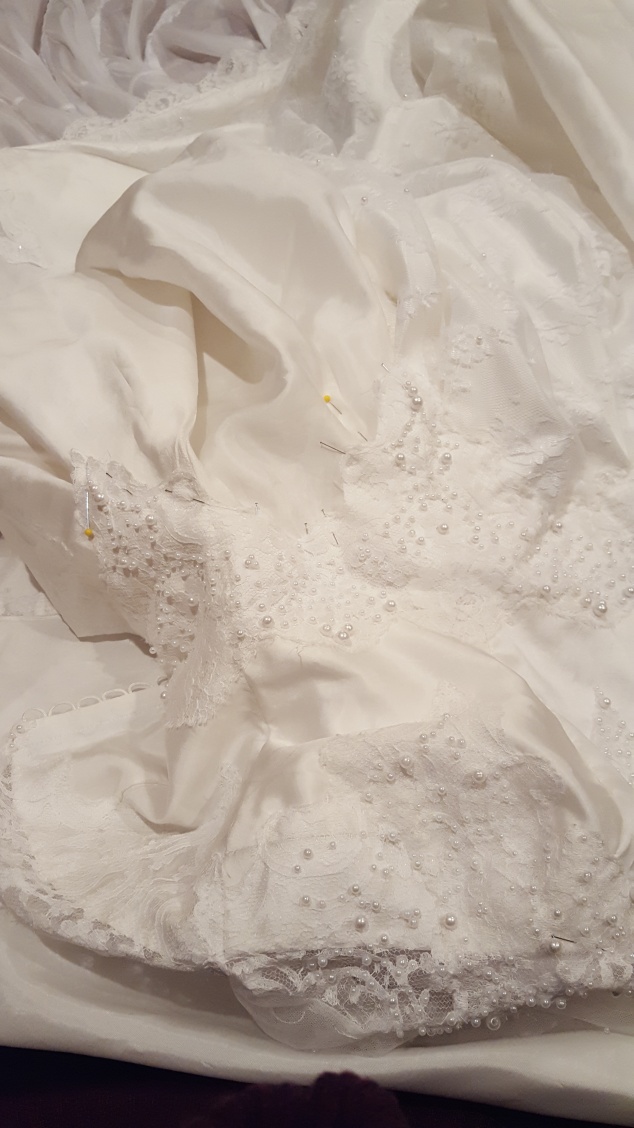
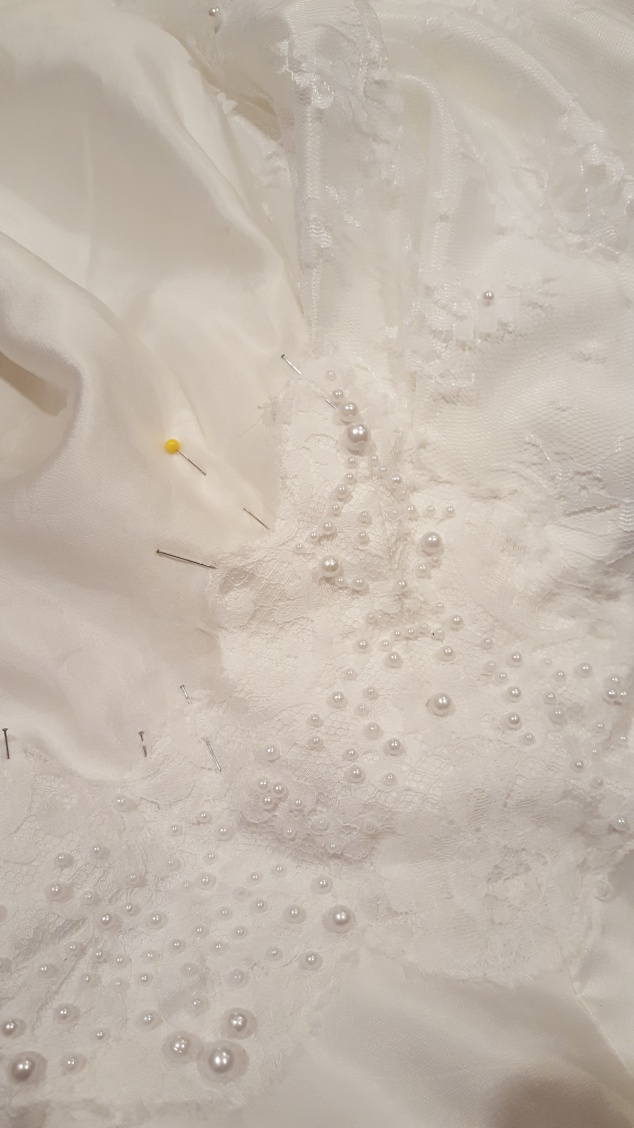
So many pins.
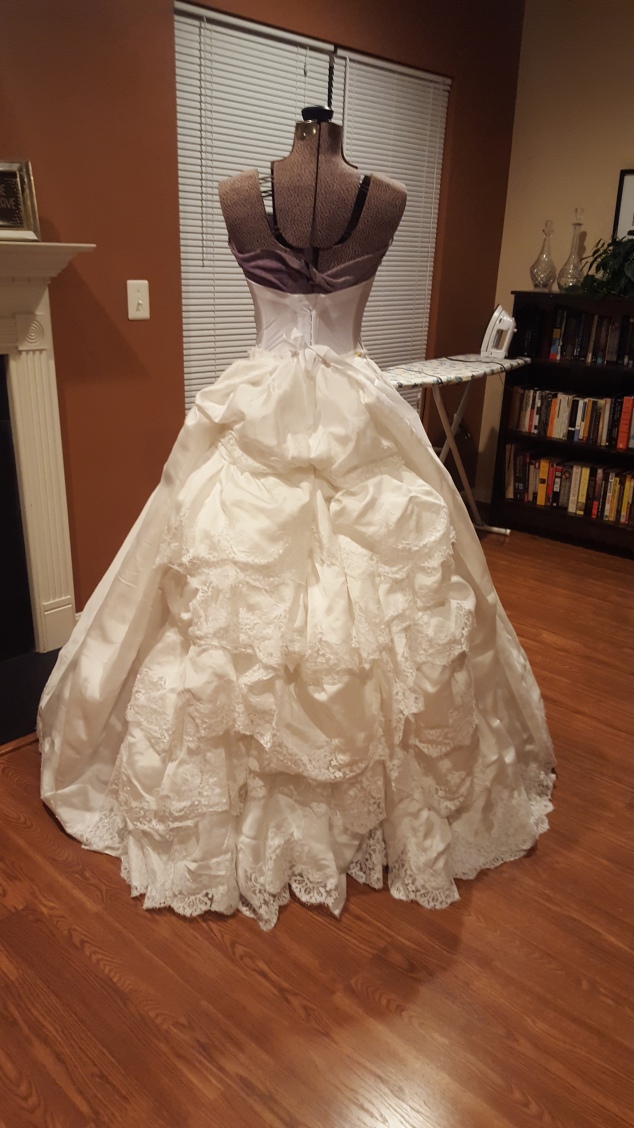
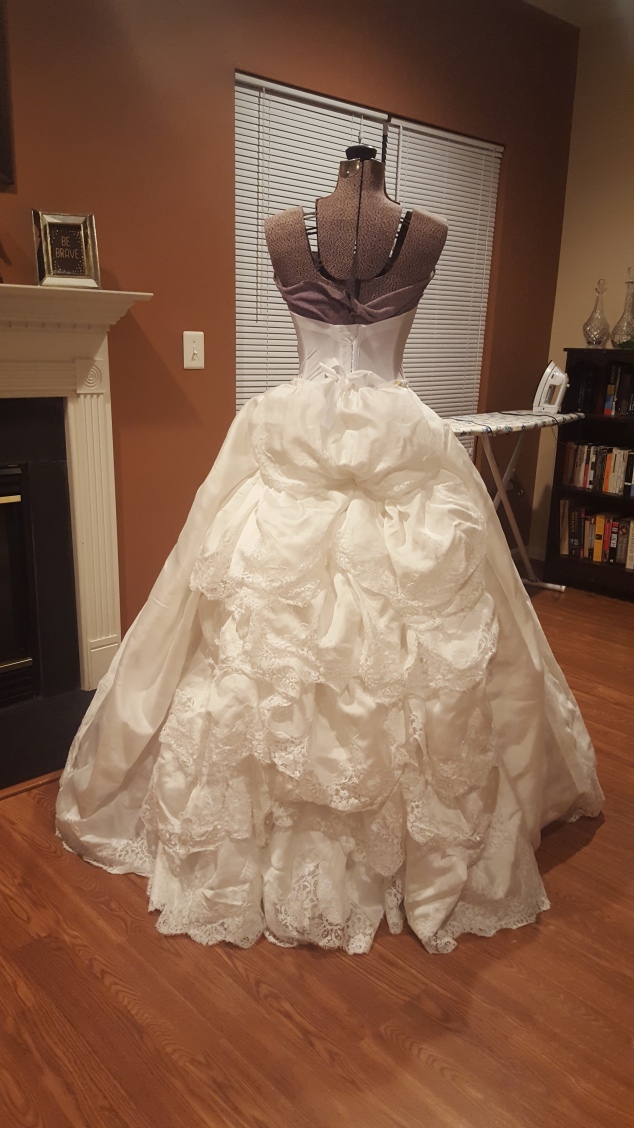
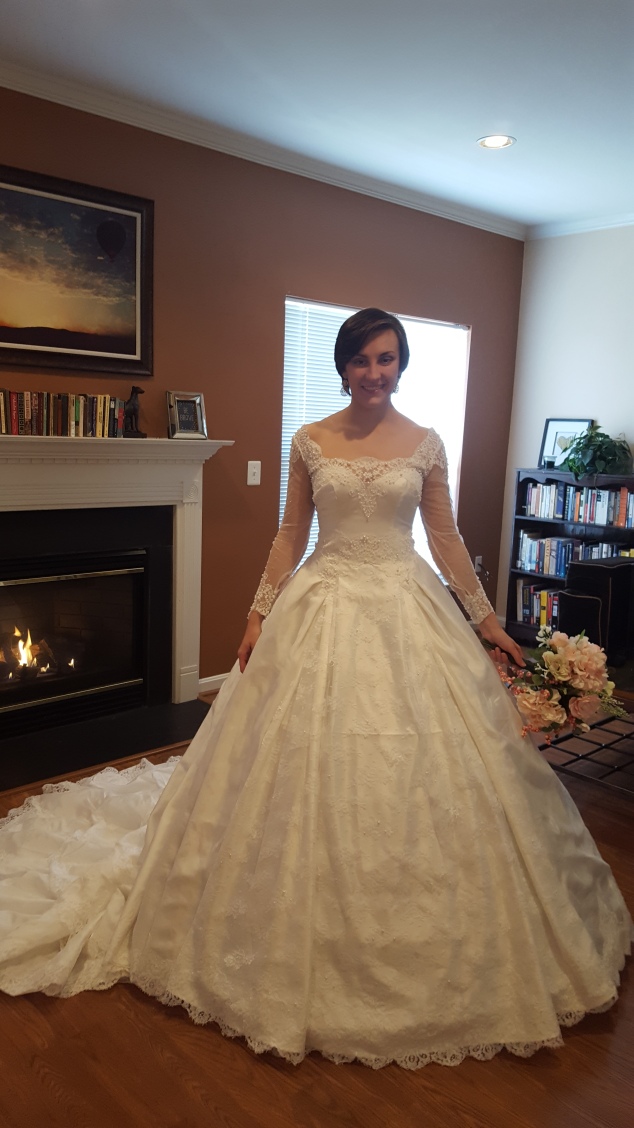
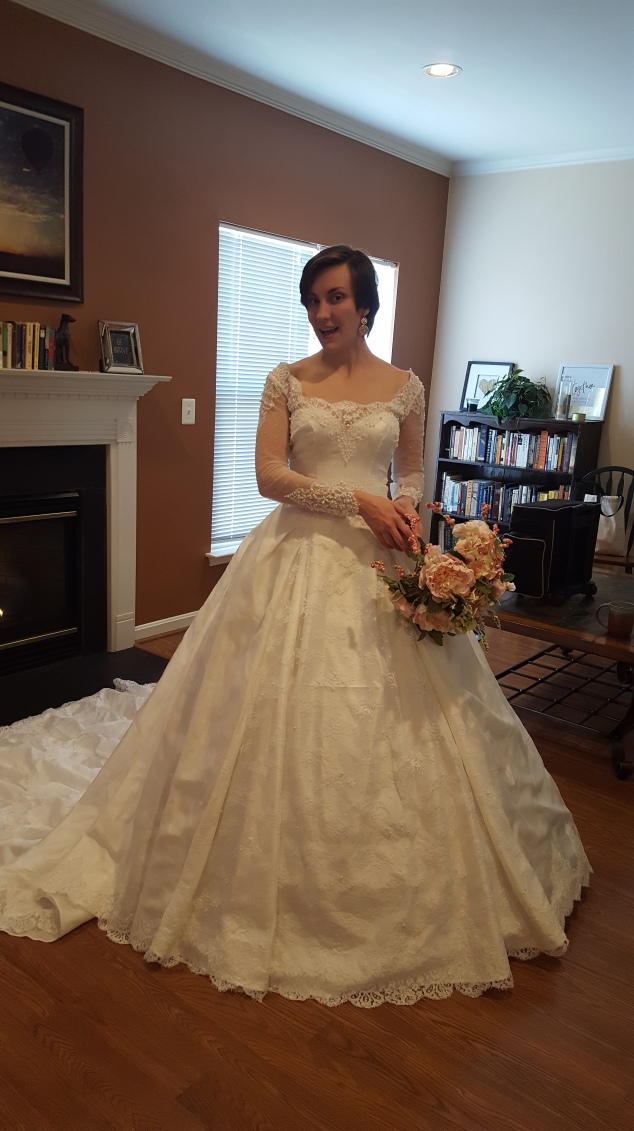
All done!
That’s right. After months of work, with just that little tacking, I finally finished the dress.
Well, really my mom finished it. The zipper still wasn’t completely finished until two days before the wedding, when I begged her (in tears) to sew the remainder of the buttons down the zipper.
Sans the buttons my dear mother sewed on later.